 Pin It
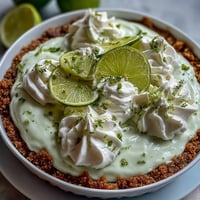
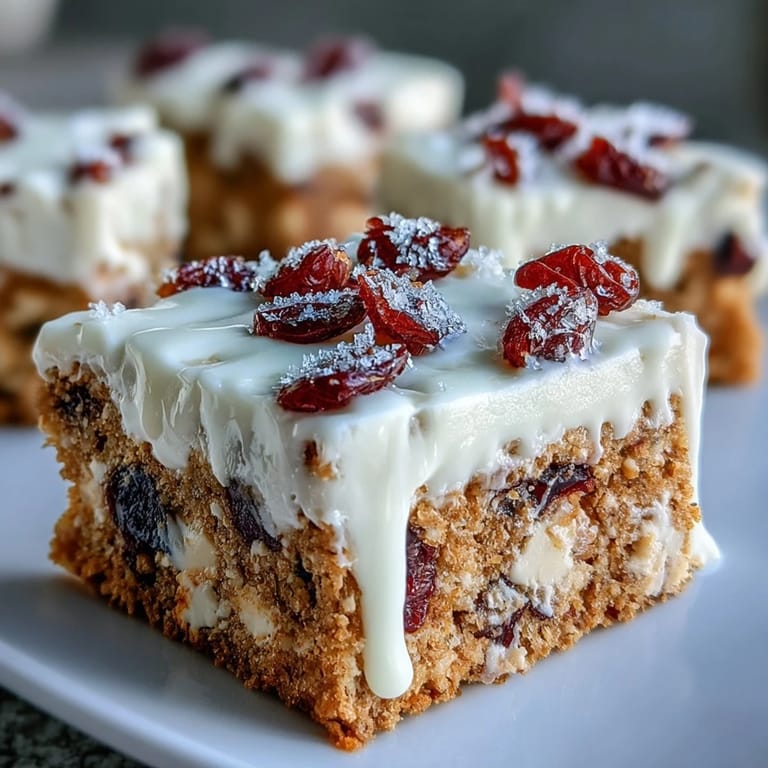
 The first time I made these cranberry bliss bars was completely by accident. I had half a bag of dried cranberries left from Thanksgiving and was craving something festive but not complicated. My kitchen smelled like orange zest and butter for hours, and honestly, that might be the real reason I keep making them.
I brought these to a cookie exchange last December and watched three different people ask for the recipe within ten minutes. My neighbor said they reminded her of something her grandmother used to make, which is basically the highest compliment you can get in holiday baking.
Ingredients
- Unsalted butter: Softened to room temperature so it creams properly with the sugars, creating that tender crumb structure
- Brown sugar: Adds moisture and a subtle molasses depth that balances the tart cranberries
- Granulated sugar: Provides crispness and helps the edges golden beautifully
- Eggs: Room temperature eggs incorporate better and prevent the batter from seizing
- Vanilla extract: Pure vanilla makes a noticeable difference in the overall flavor profile
- All purpose flour: The structure holding everything together, so measure properly
- Baking powder and baking soda: Together they give the bars just enough lift without becoming cakey
- Salt: Even a small amount brightens all the other flavors
- Dried cranberries: Chopping them distributes their tart punch evenly throughout every bite
- White chocolate chips: Creamy sweetness that perfectly complements the tangy berries
- Cream cheese: Must be completely softened or your frosting will have lumps
- Powdered sugar: Sift it first if it is clumpy for the smoothest frosting texture
- Orange zest: Use a microplane to avoid the bitter white pith
- Orange juice: Fresh squeezed makes the frosting taste infinitely better than bottled
Tired of Takeout? 🥡
Get 10 meals you can make faster than delivery arrives. Seriously.
One email. No spam. Unsubscribe anytime.
Instructions
- Get your oven ready:
- Preheat to 350°F and line a 9x13 pan with parchment paper, leaving those overhangs like handles. They will save you later when lifting the bars out.
- Make the butter magic:
- Beat the softened butter with both sugars for a solid three to five minutes until it looks pale and fluffy. This step is worth every second of effort.
- Add the eggs:
- Drop them in one at a time, letting each fully incorporate before adding the next, then stir in the vanilla.
- Whisk the dry team:
- In a separate bowl, combine flour, baking powder, baking soda, and salt so they are evenly distributed.
- Bring it together:
- Gradually mix the dry ingredients into the butter mixture, stopping as soon as you no longer see flour streaks. Overmixing makes tough bars.
- Fold in the good stuff:
- Gently incorporate those chopped cranberries and white chocolate chips until evenly distributed.
- Spread and bake:
- Evenly press the batter into your prepared pan and bake for 25 to 30 minutes until golden and a toothpick comes out clean.
- The patience part:
- Let them cool in the pan for 15 minutes, then use those parchment handles to lift them onto a wire rack. Completely cool means completely cool, or your frosting will melt.
- Make the frosting:
- Beat the softened cream cheese with powdered sugar until silky smooth, then mix in the orange zest and juice.
- The grand finale:
- Spread that orange cream cheese goodness over the cooled bars, then scatter extra cranberries and drizzle melted white chocolate on top.
 Pin It
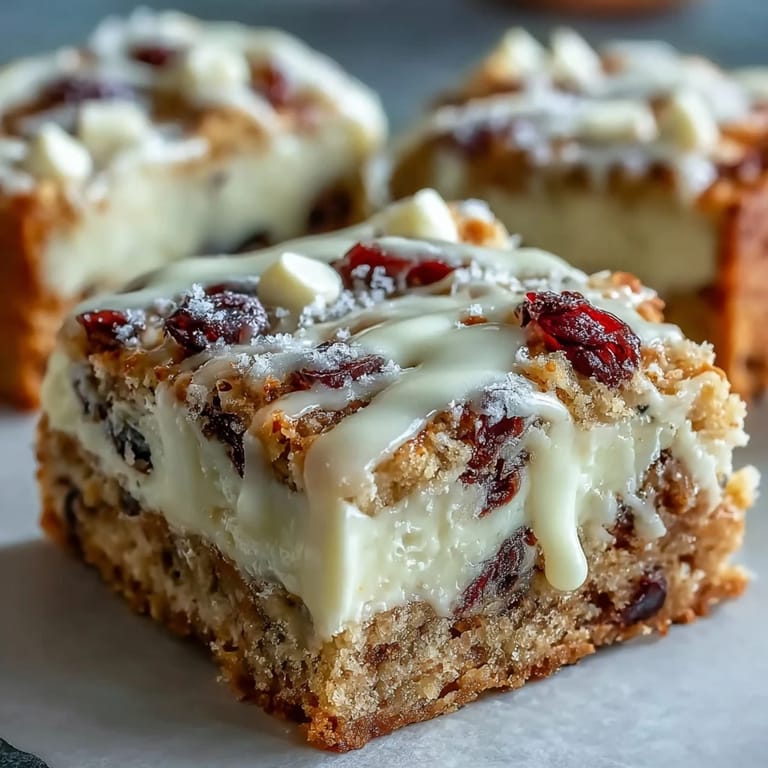
 My sister took one bite and immediately asked if I could make these for her wedding shower. That is when I knew these were not just another holiday recipe, they were the kind of thing people remember.
Making Them Ahead
I have learned through experience that these bars actually taste better on day two. The cranberries soften slightly and the orange flavor deepens. Bake them up to three days before your event, frost them, and keep them chilled until you are ready to serve.
Perfect Presentation
A clean knife dipped in hot water between cuts gives you those pristine bakery style edges. I also like to chill the frosted bars for 30 minutes before slicing so the frosting sets up clean.
Serving Suggestions
These bars shine on a cookie platter alongside shortbread and gingerbread, but they are equally perfect with afternoon tea. The tangy frosting balances beautifully with a hot cup of coffee or spiced cider.
- Try them slightly warmed for about 10 seconds in the microwave
- A pinch of ground ginger in the batter adds lovely warmth
- Store them in the refrigerator, but bring to room temperature before serving
 Pin It
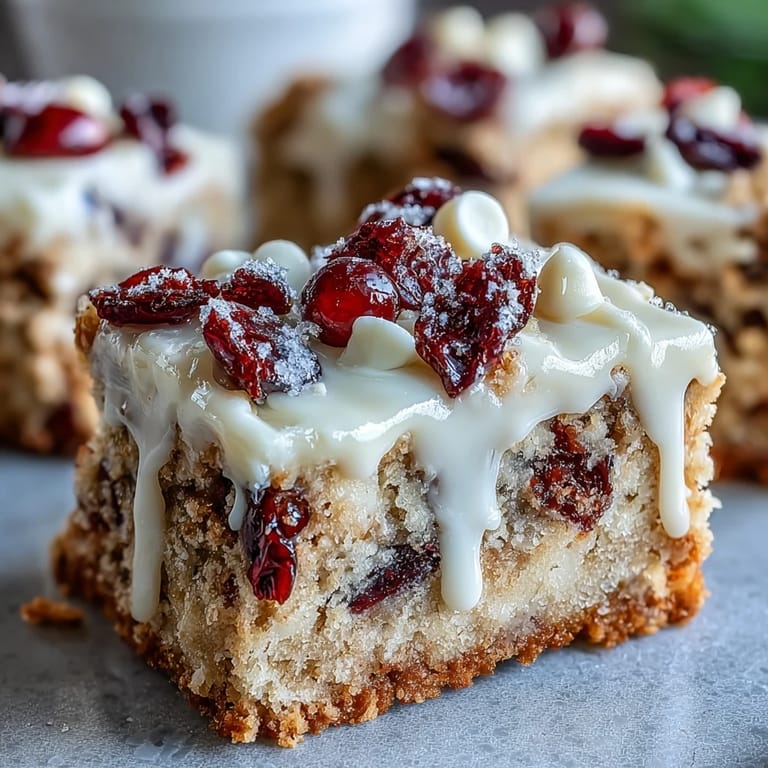
 Every time I pull these from the oven, my kitchen feels like the holidays have arrived early. Hope they bring that same magic to your home too.
Recipe FAQs
- → Can I use fresh cranberries instead of dried?
Dried cranberries work best for this dessert as they provide concentrated flavor and the right texture. Fresh cranberries contain too much moisture and may make the bars soggy.
- → How do I store these bars?
Store in an airtight container in the refrigerator for up to one week. The cream cheese frosting requires refrigeration to stay fresh and maintain its texture.
- → Can I freeze cranberry bliss bars?
Yes, freeze unfrosted bars wrapped tightly in plastic wrap and foil for up to 3 months. Thaw completely before adding the frosting and toppings.
- → What can I substitute for orange zest?
You can use lemon zest for a different citrus flavor, or add 1/2 teaspoon orange extract if fresh oranges aren't available. The zest adds brightness that complements the cranberries beautifully.
- → Why are my bars too dense?
Overmixing the batter after adding flour develops too much gluten, resulting in dense bars. Mix just until the dry ingredients are incorporated for a tender, cake-like texture.
- → Can I make these bars gluten-free?
Yes, substitute the all-purpose flour with a 1:1 gluten-free baking flour blend. Ensure your baking powder and other ingredients are certified gluten-free as well.