 Pin It
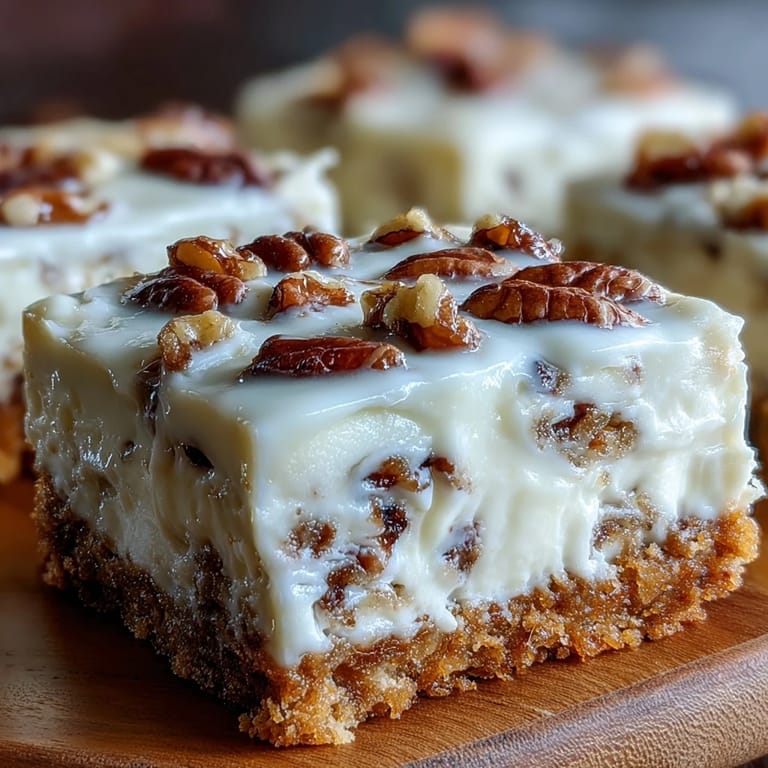
 The first time I stumbled upon the idea of carrot cake cheesecake bars, it wasn't at a fancy bakery but at a neighbor's spring potluck, where the crowd hovered around an anonymous tray of layered bars. I still remember the way the sweet scent of cinnamon mingled with tangy cream cheese, making me pause and immediately ask for the recipe. It felt like discovering hidden treasure—two classic desserts effortlessly united, teasing both curiosity and appetite. Later, I couldn't resist recreating the magic at home, and even after a few trial runs, the marbled swirls always made me smile. It sometimes became my go-to treat for any season I needed a bit of comfort or celebration in dessert form.
I secretly adore baking these bars for friends during spring brunches—especially when the sun starts peeking through the kitchen window. Once, I brought a batch to a book club meeting and watched people argue over who got the corner piece with the most swirl. There was laughter about whose spoon had more carrot or cheesecake, and requests for more immediately followed. Sometimes small debates broke out about whether nuts or coconut made the best mix-in, but all agreed they paired perfectly with a cup of strong coffee. It's the kind of recipe that makes company linger at the table just a little longer.
Ingredients
- All-purpose flour: Gives structure to both cake and cheesecake layers; sift for an even crumb.
- Baking powder & baking soda: Work together to create a light, tender carrot cake layer; measure carefully to avoid excess rise.
- Salt: Balances sweetness and brings out spice flavors; a pinch makes all the difference.
- Ground cinnamon & nutmeg: Add warmth and fragrance; freshest spices make the bars shine.
- Vegetable oil: Keeps the carrot cake layer moist; consider using a neutral oil for best flavor.
- Granulated sugar & brown sugar: Combine for sweetness and moisten texture; brown sugar adds a caramel note.
- Eggs: Bind ingredients and add richness to both layers; room temperature eggs blend more easily.
- Vanilla extract: Lifts both cake and cheesecake flavors; pure vanilla truly makes the layers pop.
- Finely grated carrots: The star of the show, giving moisture, color, and subtle sweetness; grate by hand for better texture.
- Chopped walnuts or pecans (optional): Add crunch and character; toast them lightly beforehand for extra flavor.
- Cream cheese: Must be softened for smooth cheesecake; full-fat cheese yields the creamiest layer.
- Granulated sugar for cheesecake: Ensures sweetness without overpowering tang; sift if clumpy.
- All-purpose flour for cheesecake: Stabilizes the cheesecake layer; don't overmix or it can become dense.
- Topping nuts and cinnamon: For extra texture and pop of spice; sprinkle right before baking for aroma.
Tired of Takeout? 🥡
Get 10 meals you can make faster than delivery arrives. Seriously.
One email. No spam. Unsubscribe anytime.
Instructions
- Get the Pan Ready:
- Line your square baking pan with parchment paper, making sure the edges stick out for easy removal. The crinkle and rustle is always oddly satisfying when prepping for bars.
- Mix Dry Ingredients:
- Whisk together flour, leaveners, salt, cinnamon, and nutmeg—let the fragrant spices bloom and tease your senses as they mingle in the bowl.
- Combine Wet Ingredients:
- Beat oil, sugars, eggs, and vanilla in a large bowl until smooth; the mixture should look glossy and inviting. Fold in carrots and nuts, watching as the colors brighten up the batter.
- Finish Carrot Cake Batter:
- Add the dry mixture to the wet in gentle batches, stirring just until the flour disappears—don't overmix, or the cake layer loses its tender bite.
- Make Cheesecake Layer:
- Beat cream cheese and sugar until creamy, then add eggs one at a time—listen for the soft whir as the mixer makes everything silky. Blend in vanilla and flour until fully combined, scraping the sides for any rogue bits.
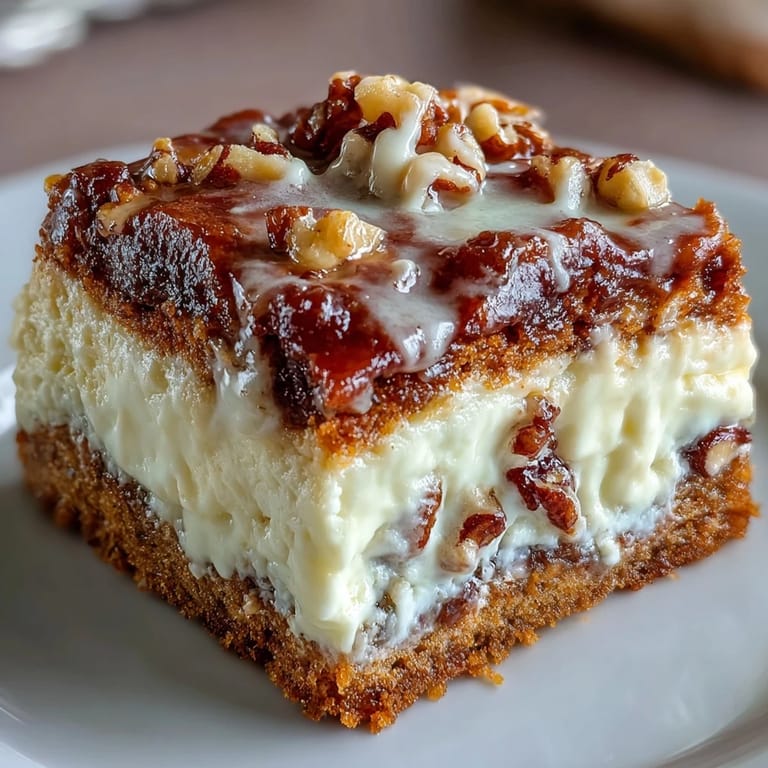
- Layer and Swirl:
- Spread half the carrot cake batter in the pan, pour all the cheesecake layer over, and dollop the remaining carrot cake batter on top. Gently swirl with a knife—try not to overdo it, as distinct ribbons are the secret.
- Add Toppings:
- Sprinkle with chopped nuts and cinnamon for extra crunch and aroma, if you're feeling fancy.
- Bake:
- Slide the pan into your prepared oven and bake until the top is golden and the center just set—about 45 to 50 minutes. The kitchen will fill with bakery-like scents.
- Cool and Slice:
- Let the bars cool completely in the pan, then chill in the fridge for at least 3 hours before slicing. The hardest part is waiting, but it's worth every minute.
 Pin It
 I still recall a rainy afternoon spent listening to jazz in the kitchen while assembling these bars for my sister's birthday. The oven fogged up the windows, and we laughed at how impatient we became waiting for the chill time. Those bars vanished quickly, but the memory of dancing around the kitchen and licking the spatula after swirling is still vivid. Desserts like this turn ordinary days into something softly memorable. Sometimes, just sharing a tray brings everyone a bit closer.
How the Swirl Makes a Difference
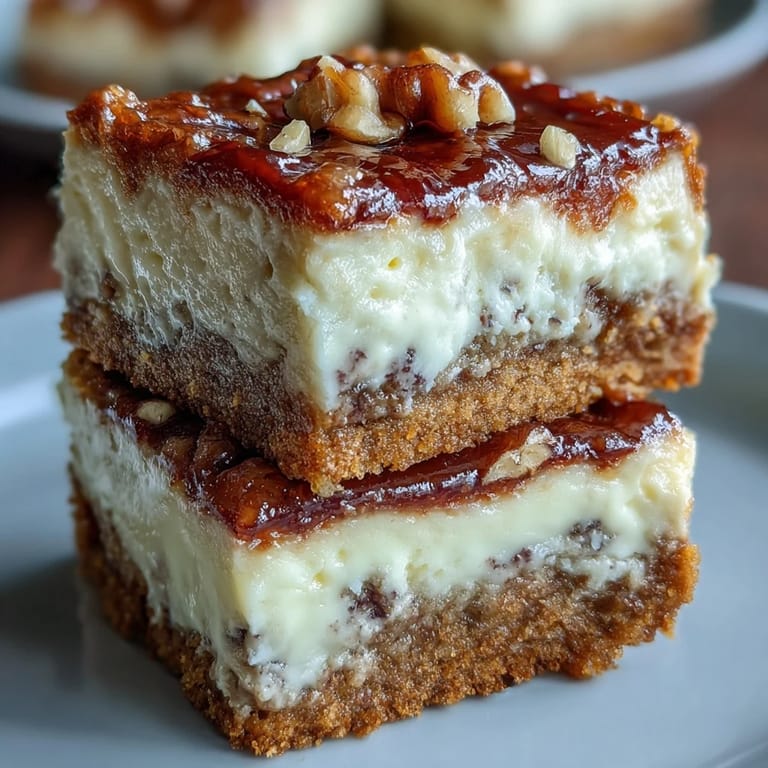
When I first experimented with the swirl, I realized it wasn't just for looks—the gentle marbling allows bites of cheesecake to peek through the carrot cake, offering a varied experience. The knife swirl always feels like painting, and no two batches ever look the same. There's a gentle art to getting just the right balance that keeps each bar uniquely inviting.
Choosing Your Mix-Ins
Adding walnuts or pecans isn't just about taste, but also brings a satisfying crunch that breaks up the creamy textures. Raisins and coconut sometimes surprise guests, offering unexpected pockets of flavor. Toasting your nuts beforehand adds another layer of aroma, so keep an eye out for golden edges as you prep.
Smart Shortcuts and Serving Tricks
If pressed for time, I've lined the pan the night before and pre-mixed the dry ingredients, making assembly speedy. For neat slices, use a hot knife and wipe between cuts—learned after many messy bars on hurried mornings. Chilled bars are easiest to serve and look gorgeous stacked on a single platter.
- Let the bars sit out for 10 minutes before serving for fuller flavor.
- Sprinkle a bit of extra cinnamon for aroma just before slicing.
- Store leftovers in an airtight container in the fridge so they don't dry out.
 Pin It
 When you pull the tray out and take your first slice, you'll find yourself quietly proud of the marbling and rich layers. Sharing them always brings smiles—these bars truly turn any day into something worth celebrating.
Recipe FAQs
- → Can I add extra mix-ins like raisins or coconut?
Yes, you can add 1/4 cup of raisins or shredded coconut to enhance texture and flavor in the carrot cake layer.
- → Is it possible to make these bars gluten-free?
Absolutely. Substitute the all-purpose flour with a 1-to-1 gluten-free blend for a gluten-free version.
- → How should the bars be stored after baking?
Once cooled, keep the bars covered and refrigerate for up to 5 days. Serve chilled for best texture.
- → Can I freeze these bars for later?
Yes, slice the cooled bars and freeze them in an airtight container for up to 2 months. Thaw in the fridge before serving.
- → What is the best way to swirl the layers?
Use a knife to gently create a marbled effect by swirling the remaining carrot cake batter into the cheesecake layer.
- → Are nuts necessary for the topping?
Nuts are optional. They add crunch, but can be omitted or substituted based on preference or allergy needs.