 Pin It
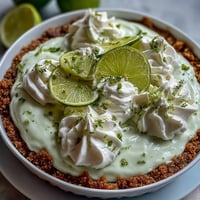
 There's something magical about the moment when a kitchen torch meets sugar and transforms it into glass. I discovered crème brûlée not in a fancy restaurant, but in my friend's tiny apartment kitchen where she casually produced four perfect ramekins from her oven like they were no big deal. She handed me the torch, showed me the flick of the wrist, and suddenly I understood why this dessert has captivated people for centuries. What struck me most was how few ingredients it took—just cream, eggs, and sugar—to create something that felt impossibly refined.
I remember standing in my kitchen on a rainy Sunday, holding a torch for the first time, worried I'd either burn the sugar to ash or set off the smoke alarm. My partner watched from the counter with that look that said they weren't entirely sure this was safe. But when that sugar turned from grainy white to deep amber in seconds, their skepticism turned into amazement. We sat at the kitchen table in silence for a moment after that first spoonful, both realizing we'd just made something restaurant-quality in our own home.
Ingredients
- Heavy cream (2 cups): This is where all the richness lives—buy the best quality you can find because it's literally the main character here.
- Egg yolks (4 large): They're what create that custard magic, so use the freshest eggs you have and save those whites for something else.
- Granulated sugar (1/2 cup plus 4 tablespoons for topping): Keep it simple and granulated; the finer sugar dissolves into the custard while the topping sugar becomes your crispy shell.
Tired of Takeout? 🥡
Get 10 meals you can make faster than delivery arrives. Seriously.
One email. No spam. Unsubscribe anytime.
Instructions
- Heat the cream gently:
- Pour your cream into a saucepan and turn the heat to medium, watching as it steams and tiny bubbles form around the edges. You want it hot enough to cook the eggs but not so hot it boils—that's where the skill lives.
- Whisk the yolks with sugar:
- In a bowl, whisk the egg yolks and sugar together until the mixture turns pale and ribbony, about 2–3 minutes of whisking. This step matters because it aerates everything and helps prevent that grainy texture.
- Temper the eggs:
- This is the move that keeps you from scrambled eggs: slowly pour the warm cream into the yolk mixture while whisking constantly, adding just a little at first to warm the eggs gradually before combining everything. Take your time here—rushing is where things go wrong.
- Strain for silk:
- Push the entire mixture through a fine sieve into a measuring cup, which catches any bits of cooked egg white and gives you an impossibly smooth custard. It's the step that makes people think you went to culinary school.
- Fill and bake:
- Divide the custard among your ramekins and set them in a deep baking dish, then pour hot water around them until it reaches halfway up their sides. The water bath is essential—it keeps the edges from setting too fast while the center stays creamy.
- Know when it's done:
- Bake for 30–35 minutes until the custards jiggle just slightly when you shake the dish gently, like they're barely set. They'll continue cooking a little as they cool, so don't overbake.
- Chill thoroughly:
- Remove them from the water bath and let them cool, then refrigerate for at least an hour or up to two days. Cold custard is key to the final texture.
- Torch the topping:
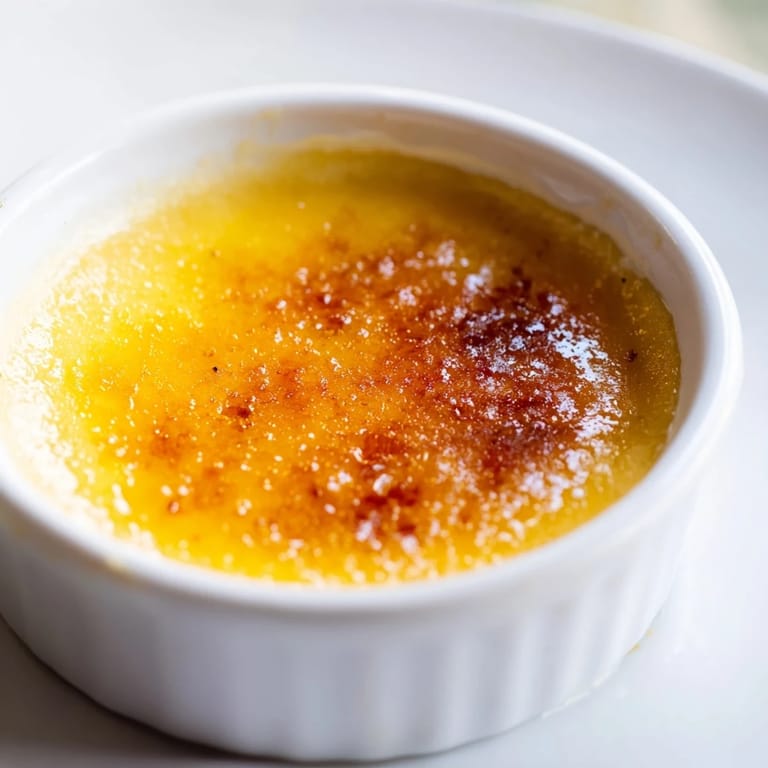
- Just before serving, sprinkle a tablespoon of sugar evenly over each custard and use the torch in quick, circular motions to melt and caramelize it until it's deep golden and crisp. Let it sit for a minute to harden before serving.
 Pin It
 The real moment this dessert became special for me was when I made it for my sister's birthday, and my dad—who's usually quiet about food—asked for seconds. He sat there tapping his spoon against the hardened caramel like it was the most satisfying sound in the world, and suddenly I realized this simple dessert had a way of making people feel cared for.
Flavor Variations to Consider
Once you nail the basic version, the world opens up. Vanilla bean is the classic move—split one, scrape the seeds, and infuse them into the cream while it heats. Citrus zest (lemon, orange, or even grapefruit) adds brightness and keeps things from feeling too heavy. Some people swear by a pinch of sea salt in the custard itself, or a splash of liqueur like Grand Marnier or dark rum stirred in after straining. The beauty is that the three-ingredient simplicity is your foundation, not your ceiling.
The Torch versus the Broiler Question
A kitchen torch gives you precision and that showstopping moment at the table, but if you don't have one, your broiler works just fine—you'll just need to watch like a hawk because it goes from golden to burnt faster than you'd expect. I've done both, and honestly, the torch has become my go-to because you can caramelize right at the moment before eating, when the custard is at its coldest and the temperature contrast is most dramatic.
Why This Dessert Works Every Time
There's something reassuring about a dessert that has been perfected over centuries and relies on straightforward technique rather than exotic ingredients or tricky timing. Once you understand the water bath, the tempering, and the caramelizing moment, you've got the foundation to make this dessert hundreds of times and have it come out right every time.
- Make sure your ramekins are the right size (6 ounces each) because depth affects cooking time significantly.
- Don't skip the straining step even though it feels unnecessary—it's what separates good from exceptional.
- Serve these cold with maybe fresh berries on the side if you want color, but honestly the dessert is perfect on its own.
 Pin It
 This is the kind of dessert that makes you feel capable in the kitchen, and honestly, that's half the pleasure. Make it once and you'll want to make it again.
Recipe FAQs
- → What creates the crisp topping on Crème Brûlée?
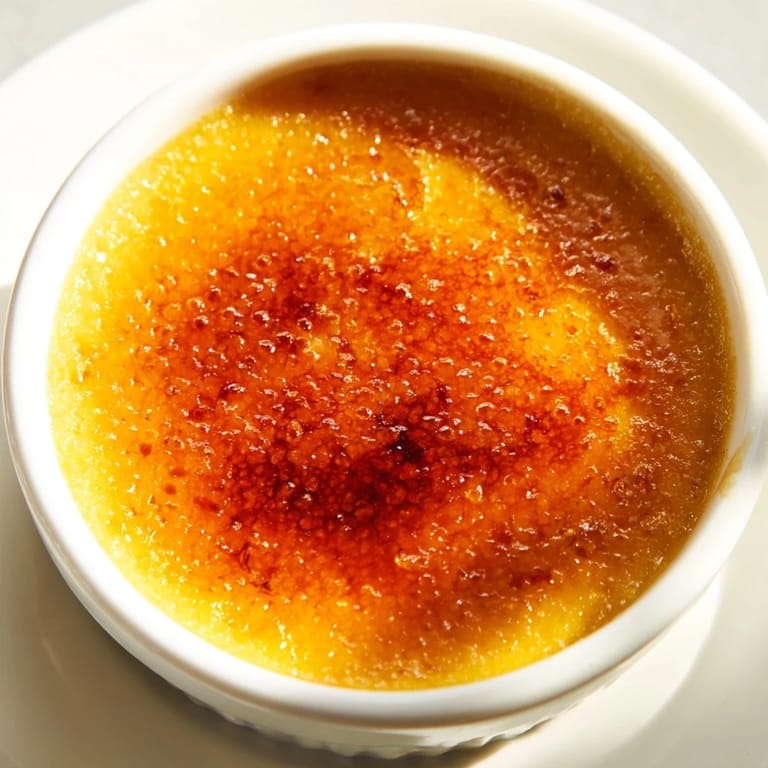
The crisp topping is made by caramelizing a thin layer of sugar with a kitchen torch or broiler until it forms a golden, brittle crust.
- → How is the custard kept smooth and silky?
Gently heating the cream without boiling and carefully mixing with whisked egg yolks helps maintain a smooth, creamy texture in the custard.
- → Why bake in a water bath?
The water bath provides gentle, even heat around the custards, preventing them from curdling or cracking during baking.
- → Can I infuse any flavors into the cream?
Yes, vanilla bean or citrus zest can be infused into the cream before mixing for added aromatic depth.
- → How long should the dessert be chilled?
Chilling for at least one hour firms the custard and enhances texture before caramelizing the sugar topping.