 Pin It
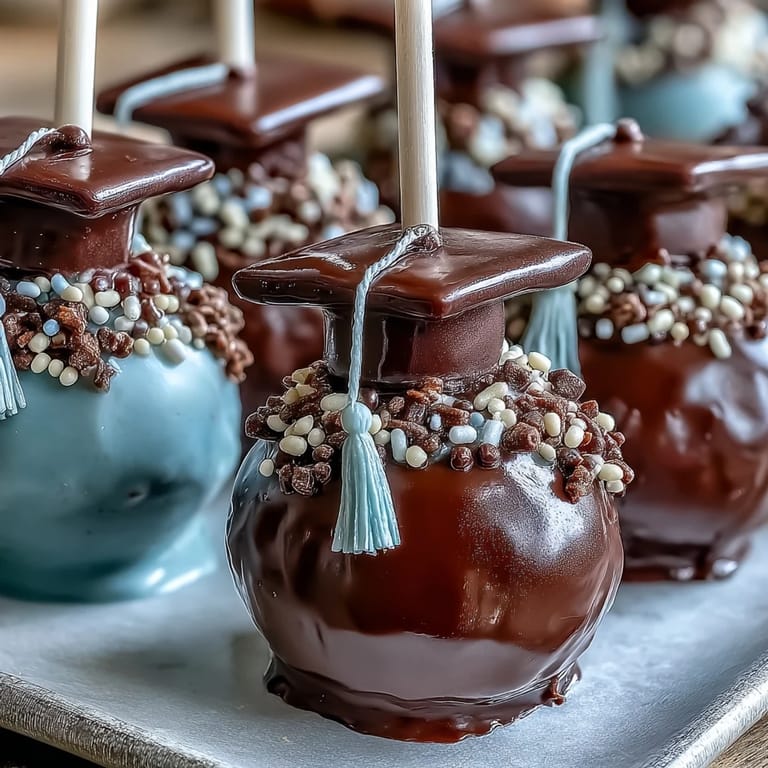
 The first time I brought a batch of graduation cake pops to my cousin's party, I could barely hear myself think over all the laughter and chatter—a good sign. As I melted the colored chocolate, the kitchen filled with the sweet scent of vanilla and excitement, and I realized these little treats were more than just desserts. They were a badge of celebration, each pop dressed in school colors and gleaming with edible glitter. Making them turned a quiet afternoon into a mess of sticky fingers and spontaneous decorating contests. It's impossible not to smile when you see them lined up, tiny edible diplomas ready to be handed out.
I remember prepping these for my little brother's graduation; his friends hovered around the counter tossing ideas for sugar decorations. Someone tried to make a fondant mortarboard and dropped it, making us laugh and scramble to patch it with glitter and a chocolate chip tassel. We ended up making some 'fails' into creative pops with funny faces, and honestly, those disappeared first from the tray. It was chaotic, but the kitchen felt alive in a way only graduation days can.
Ingredients
- Cake mix or homemade cake: Using a box mix saves time—just be sure your cake is completely cooled for perfect crumbs, or try homemade for deeper flavor.
- Cream cheese or buttercream frosting: A little goes a long way; mix in gradually and stop as soon as the crumbs stick together, not so much that it becomes too sticky.
- Candy melts in school colors: These melt quickly and set smoothly, though white chocolate with food coloring lets you tweak the shades just right.
- Vegetable shortening: Optional, but a spoonful can make the coating flow smoother for easier dipping.
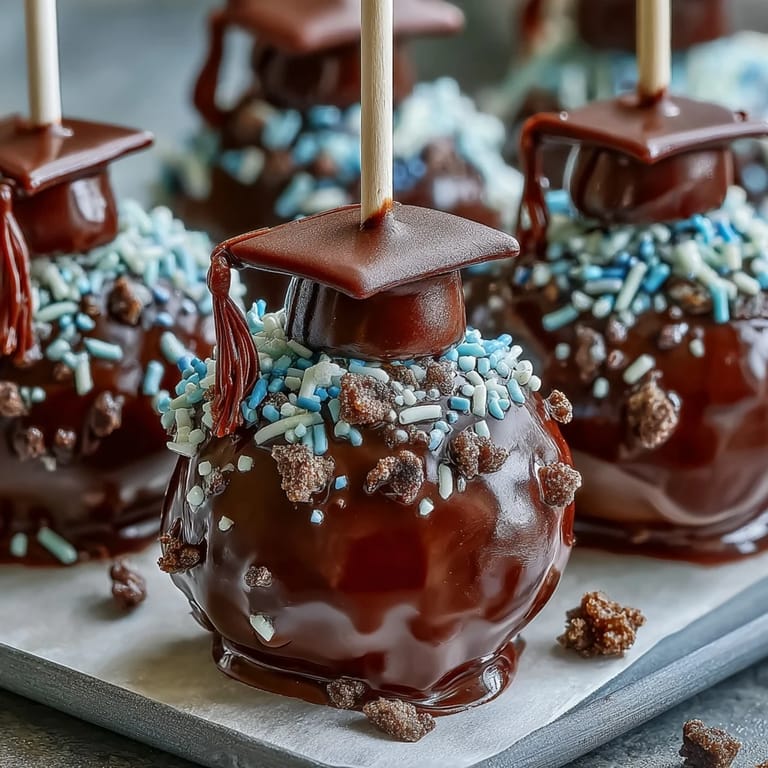
- Sprinkles, edible glitter, colored sugar: Choose accents that match the mood—I've found edible glitter gets the most smiles.
- Lollipop sticks: The sturdier, the better, since they keep the pops upright during decorating and setting.
- Mini chocolate chips: These add fun details—perfect for tassels or accents on grad caps.
- Fondant in school colors: Roll it thin for cap decorations, but if you're short on time, skip it and go wild with sprinkles.
Tired of Takeout? 🥡
Get 10 meals you can make faster than delivery arrives. Seriously.
One email. No spam. Unsubscribe anytime.
Instructions
- Bake and Cool:
- Prepare your cake according to directions and let it cool completely. The cooled cake should feel dry to the touch so it crumbles easily.
- Make the Crumbs:
- Break the cake apart with your hands or fork until you get fine, loose crumbs—kids love helping with this part.
- Mix with Frosting:
- Add frosting one spoonful at a time, gently working it in until the mixture sticks together when pressed; don’t overdo it.
- Shape the Pops:
- Scoop tablespoon-sized portions, then roll each one quickly between your palms to make even balls.
- Chill:
- Let the balls rest on a lined baking sheet, covered, in the fridge for at least an hour or freeze for 20 minutes—it helps them stay firm when dipping.
- Melt the Coating:
- Use a microwave-safe bowl, heating candy melts in bursts and stirring until smooth; thin with shortening if needed.
- Stick Prep:
- Dip each lollipop stick’s tip in melted chocolate, then push halfway into a chilled cake ball to secure.
- Dipping Time:
- Submerge each pop in coating and gently tap off extra; pick up quickly but let them drip just a second.
- Decorate:
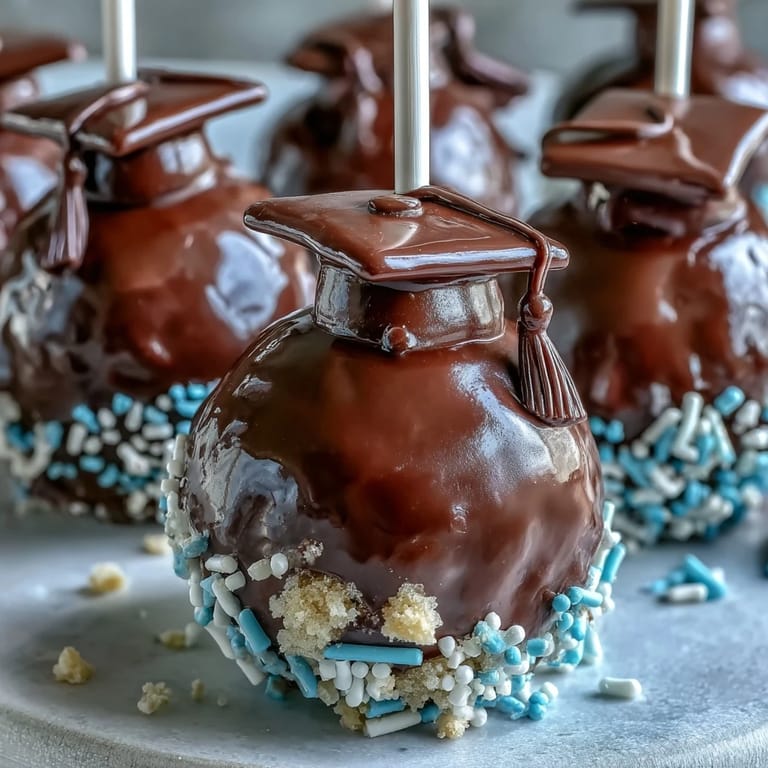
- While still wet, sprinkle on colored sugar or glitter; for grad caps, top with fondant squares and attach a mini chocolate chip for the tassel using melted chocolate.
- Setting Up:
- Stand the finished pops upright in a styrofoam block or cake pop stand so the coating hardens evenly before serving.
 Pin It
 Watching my best friend's eyes light up as she saw her school colors shimmering on the cake pops, I realized how much thought goes into celebrating someone’s achievement. Somehow these pops became more than confection—every bite was a mini toast to the journey.
Easy Graduation Decorating Ideas
Experimenting with different sprinkles, edible glitter, and fondant shapes has made every batch unique. Edible markers are an easy way to add personal touches like graduation years or initials, and sometimes we’d write cheeky messages for our group. The creative freedom always surprises me—you can turn a basic cake pop into a memorable showpiece with just a few accents.
How to Store and Transport Cake Pops
When I had to deliver 24 pops to two different parties, I packed them upright in a styrofoam block wrapped in clingfilm, and not a single one toppled or smudged their coating. If you’re traveling, refrigerate them beforehand so the coating is firm, and use a deep container for safe transport. They stay fresh at room temperature for days, perfect for prepping ahead.
Troubleshooting Common Cake Pop Glitches
The first few times I tried dipping, my cake pops crumbled or slid off the stick—lesson learned about proper chilling and coating consistency. Even with a few imperfect batches, once the decorations went on nobody noticed the cracks. Most mistakes are fixable with a sprinkle here or a fondant piece there—embrace them and keep going.
- If coating gets too thick, microwave with a spoonful of shortening for 10 seconds.
- Always cool the cake completely before crumbling.
- Don’t fret over uneven shapes; decorations hide everything.
 Pin It
 Whether you’re marking a milestone or just looking for a fun kitchen project, these cake pops bring everyone together. Enjoy each bite—and each laugh—because celebrations are sweeter when shared.
Recipe FAQs
- → How do I match cake pop colors to my school?
Use colored candy melts or tint white chocolate with gel food coloring. Decorate with school-colored sprinkles or fondant caps.
- → Can I use homemade cake instead of mix?
Yes, bake a 9-inch cake of your choice and ensure it is fully cooled before crumbling for best texture mix.
- → How long do the pops need to chill before coating?
Refrigerate balls for at least 1 hour, or freeze for 20 minutes, so the mixture firms up and coats smoothly.
- → What’s the best method for dipping cake pops?
Melt coating chocolate, dip the stick first, insert into the pop, then immerse fully and tap off excess for an even finish.
- → How should cake pops be stored?
Keep them in an airtight container at room temperature for three days, or refrigerate for about a week.
- → Can these be made gluten-free?
Use a gluten-free cake mix and check all decorations’ ingredients to ensure they comply with dietary preferences.