 Pin It
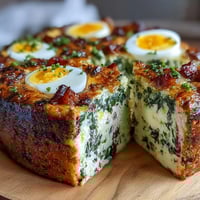
 My youngest once declared chicken strips the official food of happiness, and honestly, I couldn't argue. After years of deep-frying and feeling the guilt creep in with every golden bite, I started tinkering with oven-baked versions that could deliver that same satisfying crunch. The day I pulled these panko-crusted strips from the oven and heard that audible crack when we bit in, I knew I'd cracked the code. No oil splatter, no lingering smell, just pure crispy joy that didn't make me feel like I needed a nap afterward. They've been on heavy rotation ever since, especially when I need dinner done fast without sacrificing that takeout vibe everyone craves.
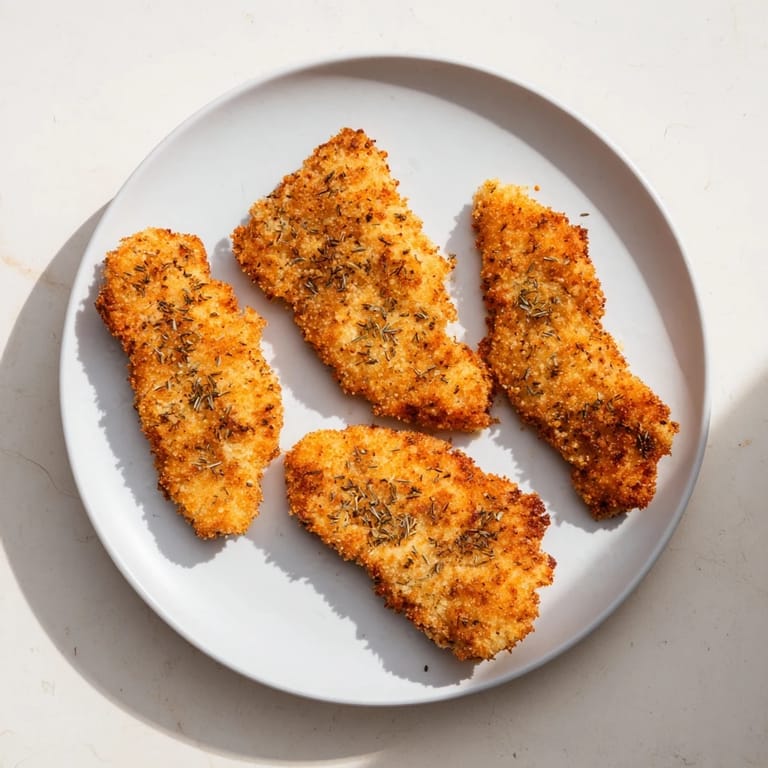
I remember making these on a particularly chaotic Tuesday when my oven timer failed and I forgot about them for an extra three minutes. I panicked, expecting charcoal, but they came out even crispier, with edges that shattered like glass. That happy accident taught me that a little extra time at high heat is actually your friend here. Now I purposely push them toward that deep golden edge, watching through the oven door like it's the season finale of my favorite show. My family has come to expect that specific shade of bronze, and anything lighter just doesn't hit the same anymore.
Ingredients
- Boneless, skinless chicken breasts or tenders: I always pat these aggressively dry with paper towels because any moisture will steam the coating instead of crisping it, and nobody wants sad, pale breading.
- Salt and black pepper: Simple seasoning on the meat itself ensures every bite has flavor, not just the crust.
- All-purpose flour: This first dredge creates a dry surface that helps the egg mixture cling like it means it.
- Eggs: Beaten with mayonnaise, they form a sticky, rich layer that locks the panko in place and adds subtle richness.
- Mayonnaise or Greek yogurt: The fat in mayo makes everything adhere better, while yogurt lightens things up without sacrificing stick.
- Panko breadcrumbs: These Japanese-style crumbs have jagged edges that crisp up in a way regular breadcrumbs never could, turning almost lacy in the oven.
- Dried Italian herbs: A blend of oregano, thyme, and basil gives the crust an herby backbone without needing fresh herbs that might burn.
- Garlic powder: It distributes evenly and toasts beautifully, adding savory depth that fresh garlic can't match in a dry coating.
- Smoked paprika: Just half a teaspoon gives a subtle smokiness that makes people ask if you grilled these.
- Cayenne pepper: Optional, but a pinch wakes everything up without making it spicy, more like a gentle nudge than a shove.
- Olive oil: A light drizzle or spray before baking is the secret to activating that crisp, helping the panko toast instead of just dry out.
Tired of Takeout? 🥡
Get 10 meals you can make faster than delivery arrives. Seriously.
One email. No spam. Unsubscribe anytime.
Instructions
- Preheat and Prep:
- Crank your oven to 220°C (425°F) and line a baking sheet with parchment or, better yet, set a wire rack on top for air circulation on all sides. This step is non-negotiable if you want crunch instead of sogginess on the bottom.
- Prep the Chicken:
- Pat those chicken pieces completely dry, then slice them into even strips about 2 cm wide so they cook at the same rate. Season both sides with salt and pepper right on the cutting board.
- Set Up Your Breading Station:
- Grab three shallow bowls and fill them: flour in the first, eggs whisked with mayo in the second, and panko mixed with all the herbs and spices in the third. I like to use one hand for wet and one for dry to avoid turning my fingers into breaded clumps.
- Coat the Chicken:
- Dredge each strip in flour and shake off the excess like you're dusting snow off a coat. Dip it in the egg mixture, let the extra drip off, then press it into the panko, making sure every surface is covered.
- Arrange and Oil:
- Lay the coated strips on your prepared sheet with a little space between each one so they don't steam each other. Drizzle or spray them lightly with olive oil, hitting the tops and any bare spots you see.
- Bake and Flip:
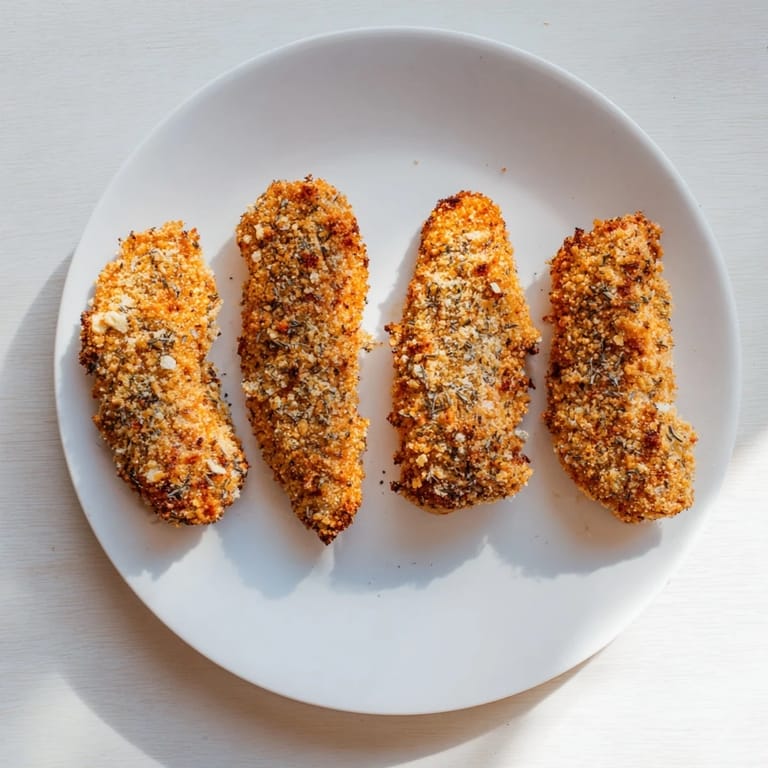
- Slide them into the oven and bake for 18 to 22 minutes, flipping halfway through so both sides get that golden treatment. They're done when the internal temp hits 74°C (165°F) and the crust looks like autumn leaves.
- Rest Before Serving:
- Let them sit for 2 to 3 minutes on the pan, which lets the crust firm up and reach peak crispiness. Serve immediately while they're still crackling.
 Pin It
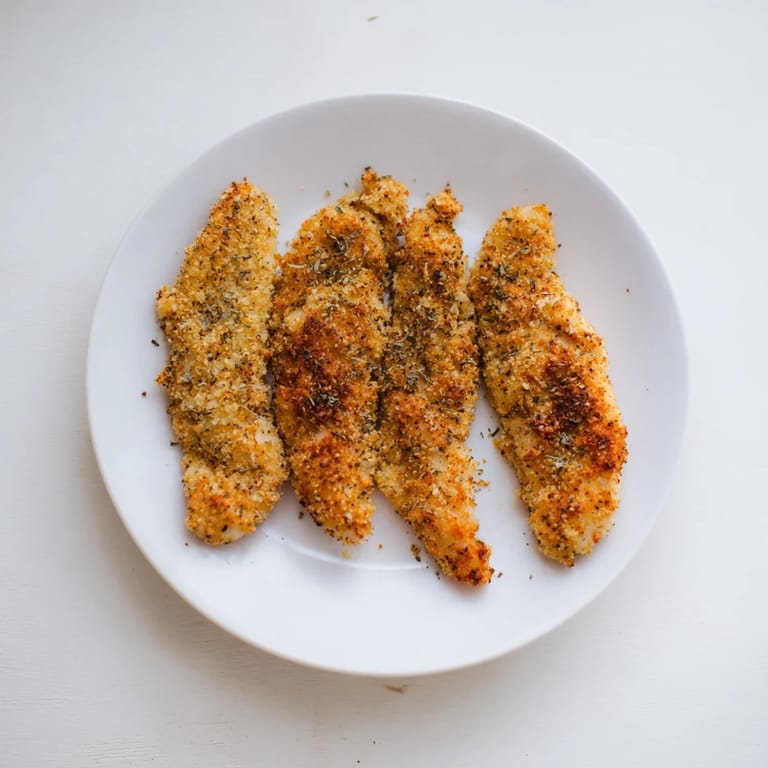
 There was one evening when my brother-in-law, a lifelong fried chicken purist, grabbed one of these off the platter and went silent mid-chew. He looked at me, then at the chicken, then back at me, and said, "Wait, these aren't fried?" It was the ultimate validation, the kind of moment that makes all the trial batches worth it. We ended up eating the entire tray standing around the kitchen island, dipping them in three different sauces and debating which one was best. That night, these strips went from just another weeknight dinner to the thing people specifically request when they come over, and I never get tired of that look of surprise when they realize they're baked.
Serving Suggestions
I always put out a trio of dipping sauces because everyone has their mood, honey mustard for the sweet-tangy crowd, ranch for the classics, and spicy sriracha mayo for anyone feeling adventurous. These strips also make killer salad toppers when sliced on the diagonal, adding protein and crunch without weighing things down. If you're feeding kids, try cutting them into smaller nugget-sized pieces before breading, same flavor but way more dunkable. They're also surprisingly good cold the next day in a wrap with lettuce, tomato, and a drizzle of whatever sauce survived the night before.
Customization Ideas
If you want to go gluten-free, swap in gluten-free panko and flour, the texture stays remarkably close to the original. For extra flavor, try mixing grated Parmesan into the panko, it adds a nutty, salty punch that makes the crust even more addictive. I've also done a version with lemon zest and fresh thyme in the breading when I'm feeling fancy, and it transforms them into something almost elegant. If you like heat, double the cayenne or add a pinch of chili flakes, just know that it builds as they bake.
Storage and Reheating
Leftovers can be stored in an airtight container in the fridge for up to three days, though they rarely last that long in my house. The key to reheating is using the oven or an air fryer, never the microwave unless you want to turn that beautiful crust into rubber. I reheat them at 190°C (375°F) for about 8 minutes, and they come back almost as crispy as the first time, especially if you use a wire rack again. If you want to freeze them, do it after breading but before baking, then bake straight from frozen, adding a few extra minutes to the cook time.
- Store cooked strips in the fridge for up to three days in a sealed container.
- Reheat in the oven at 190°C (375°F) for 8 minutes to restore the crunch.
- Freeze unbaked breaded strips on a tray, then transfer to a bag and bake from frozen when needed.
 Pin It
 These strips have become my go-to whenever I need something that feels indulgent but won't derail the week, and they've never let me down. Whether you're feeding a crowd or just trying to make a Tuesday feel special, they deliver every single time.
Recipe FAQs
- → How do I achieve maximum crispiness?
Use a wire rack set on the baking sheet to allow hot air to circulate around the chicken. Ensure you pat the chicken completely dry before breading, as moisture prevents crispiness. Lightly drizzle or spray with olive oil before baking, and flip halfway through cooking for even browning on both sides.
- → Can I prepare these strips in advance?
Yes, you can bread the chicken strips up to 4 hours ahead and refrigerate them on a baking sheet covered with plastic wrap. This actually helps the coating adhere better. Bake from cold—just add 2-3 minutes to the cooking time. You can also freeze breaded strips for up to 3 months and bake from frozen, adding 5-7 minutes.
- → What's the best way to check if the chicken is cooked through?
Use an instant-read meat thermometer inserted into the thickest part of a strip—it should register 74°C (165°F) internally. Alternatively, cut into the thickest piece; the juices should run clear with no pink flesh visible. Avoid piercing multiple times, as this releases juices and dries out the chicken.
- → Can I make these gluten-free?
Absolutely. Substitute all-purpose flour with rice flour, cornstarch, or certified gluten-free all-purpose flour. Use gluten-free panko breadcrumbs, which are widely available and maintain excellent crispiness. Always verify that all seasonings and condiments, including mayonnaise or Greek yogurt, are certified gluten-free.
- → What dipping sauces pair best with these strips?
Honey mustard, ranch, and sriracha mayo are classic pairings. You can also try chipotle mayo, lemon aioli, or a simple garlic-infused sour cream. The herbed panko coating's savory profile pairs wonderfully with both creamy and tangy sauces—experiment to find your favorite combination.
- → Can I use chicken thighs instead of breasts?
Yes, chicken thighs work beautifully and often stay more moist than breasts. Pound them to an even thickness similar to breast tenders. They may require an extra 2-3 minutes of cooking time. Check the internal temperature reaches 74°C (165°F) before serving to ensure food safety.